
Signs Your Header or Beam Is Failing, Not Just Settling
Every house moves a little. That's normal. But there's a difference between seasonal settling and a beam that's actually losing its ability to hold weight. The design engineering team sees homeowners in Chesterfield mix these up all the time, and it's the reason people wait too long to call.
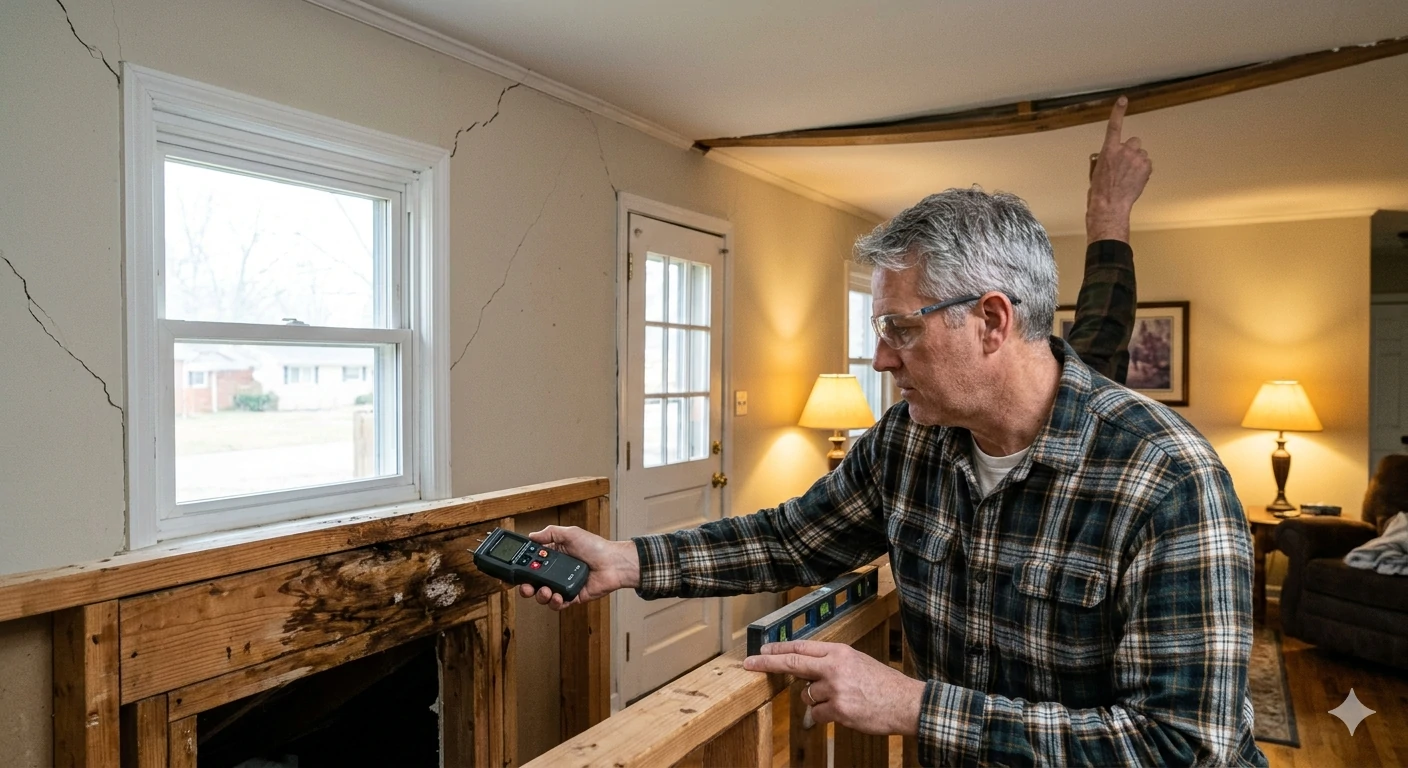
So how do you tell the difference? Start with what you can see.
- Cracks above door frames or windows that keep coming back after you patch them. Cosmetic cracks from settling usually stabilize. Cracks from a failing header get worse.
- Doors or windows that suddenly won't latch or close square. If a door worked fine for years and now sticks every time, something above it shifted.
- A visible sag or bow in a ceiling line or floor above. Even a quarter inch of deflection in a beam can show up as a dip you notice when you stand back and look down the length of a room.
- Soft or spongy spots in the wood itself. This is common in older homes near Chesterfield Valley where moisture from crawl spaces has been wicking into structural lumber for decades.
In most cases, the homeowner noticed something months ago and talked themselves out of it. A sticking door gets blamed on humidity. A ceiling crack gets blamed on the house "just being old." But structural failures don't fix themselves, they accelerate.
Here's a practical test. Put a four-foot level on the bottom of the beam or along the header above a wide opening. If you're seeing more than a quarter inch of deviation over four feet, that's not settling. That's deflection under load, and deflection means the member is either undersized, damaged, or both.
According to the International Residential Code, beams and headers have strict deflection limits, typically L/360 for floors and L/240 for roofs. Your home doesn't get a pass just because it's older.
Not sure if what you're seeing is real trouble? That's common. The team can do a building condition assessment and tell you in plain terms whether your beam needs engineering attention or just monitoring.
What Beam and Header Design Actually Involves Before Installation Begins
Most homeowners think beam and header design starts when a contractor shows up with lumber. It doesn't. The real work happens on paper, weeks before anyone picks up a saw.
The team starts by looking at what your structure is actually doing right now. Every load path in your home tells a story. Roof loads push down through walls, walls transfer weight to the foundation, and the foundation sends it into the soil. When you want to remove a wall or widen a doorway in your Chesterfield home, you're asking to reroute that story, so the first step is figuring out exactly how much weight needs a new path.
Here's what the design process looks like in practice:
- The team reviews your existing floor plan and identifies every load that the current wall or framing carries, including dead loads from the roof and live loads from upper floors.
- Soil conditions and foundation capacity get checked. A beam that works structurally doesn't matter if your footings can't handle the concentrated point loads at each end.
- Beam size, material, and connection details get calculated to meet the International Residential Code. Steel, engineered lumber, or solid sawn. Each has a place.
- Stamped structural drawings get produced showing the beam specs, bearing points, and any temporary shoring your contractor will need during construction.
The project that seems simple on the surface often has a wrinkle. Maybe there's a second-floor bathroom stacked right above the opening you want. Maybe the existing header is undersized and has been deflecting for years. Near Chesterfield Valley, the team sees a lot of older ranch homes where original framing barely met code when it was built.
And this is where most permits get held up. A plan reviewer wants to see clear load calculations, not a contractor's napkin sketch. The structural drawings need to show bearing details at each post location, connection hardware, and how temporary support gets staged so nothing shifts during the swap. Without that level of detail, your permit application comes back with corrections. That costs you time.
Getting the design right before installation means your contractor knows exactly what to build, your inspector knows exactly what to check, and your project stays on schedule. Builders and engineers working under the 2018 I-Codes Adoption Kit standards follow this same structured approach to ensure beam and header designs meet current residential code requirements from the start.
Temporary Shoring and Permit Pulls: What Happens Before Work Starts
Most homeowners think beam and header design ends when the drawings are done. It doesn't. The drawings are the starting point for a sequence that has to happen in the right order, or your project stalls before a single board gets cut.
Temporary shoring is the part nobody talks about until it's too late. Before your contractor can remove a load-bearing wall or swap out an undersized header, the existing load above that opening needs somewhere to go. That means installing temporary posts and beams on both sides of the work area to hold up your floor joists or roof structure while the permanent beam gets set. The team specifies shoring locations and load paths directly on your structural drawings. This isn't something your framing crew should be guessing at on site.
The shoring detail is what the Chesterfield building inspector looks at first during a framing inspection. If it's not on the plans, you'll get a stop-work order.
Here's what the permit process actually looks like for most beam and header projects in the Chesterfield area:
- The team completes stamped structural calculations and drawings showing the new beam size, connections, and temporary shoring plan.
- Your contractor or the team submits the permit application to St. Louis County or your municipality's building department.
- Plan review typically takes five to ten business days, sometimes longer if the reviewer has questions about load paths or foundation bearing.
- Once approved, your contractor can pull the permit and schedule the framing inspection.
- After the beam is installed and shoring is removed, the inspector verifies everything matches the stamped drawings.
The most common reason permits get kicked back? Missing connection details. The beam size might be right, but the plan doesn't show how it attaches to the posts or how the posts transfer load to the foundation. The team includes every connection detail up front so your permit doesn't bounce.
Got a contractor waiting on plans? Give us a call so the permit doesn't hold up your timeline.
Beam Installation Steps for Load-Bearing Wall Openings
Most homeowners call about beam and header design after a contractor tells them, "You'll need an engineer for that." Usually it's a kitchen wall they want gone, or a dining room they want opened up into the living space. The wall comes down easy enough, but what's holding up the floor above it? That's the part nobody should guess on.
The team handles these projects across Chesterfield regularly, and the process follows a clear sequence. Skipping steps is how permits get rejected and inspectors flag your project.
- Evaluate existing loads. The team reviews your floor plan, identifies what the wall carries, and traces the load path down to the foundation. Roof loads, floor joists, point loads from above. All of it matters.
- Size the beam. This is the actual engineering. Steel, LVL, or glulam. The span, the depth, the material. It all gets calculated based on your specific loads and the opening you want. A 12-foot opening doesn't get the same beam as an 8-foot one.
- Design the bearing points. A beam is only as good as what it sits on. The team specs the posts or columns at each end, then checks whether your foundation can handle the concentrated load. Sometimes it can't, and that changes the plan.
- Produce stamped structural drawings. Chesterfield's permitting office wants to see stamped plans from a licensed engineer. Not a napkin sketch. Not a contractor's guess. Actual structural calculations with a professional seal.
- Support your contractor through inspection. The drawings include connection details, temporary shoring notes, and everything the inspector needs to approve the work on site.
Usually the holdup isn't the construction. It's missing details on the plans. A beam size without bearing point specs. A steel beam called out with no connection detail. Inspectors throughout Chesterfield see this regularly and send contractors back for revised drawings.
The team's structural drawings are built to pass review the first time. That's about getting the details right so your project doesn't stall. According to the International Code Council, all load-bearing modifications require engineered plans that demonstrate code compliance. Your permit application should reflect that from day one.
Need help figuring out what beam your project actually requires? Give us a call.
Inspection Sign-Off and What Comes After the Beam Goes In
The beam is up. The temporary supports are still in place. Now what?
This is the part most homeowners don't think about until they're standing in the middle of it. Your contractor can't move forward until the framing inspection passes, and in Chesterfield, that inspector is going to want to see exactly what the stamped drawings call for. Not close. Not "basically the same." Exact. The team sizes every beam and header design with that moment in mind, because a failed inspection means your project stops cold.
Here's what the inspector typically checks:
- Beam size, material, and orientation match the engineered drawings
- Connections at each bearing point use the specified hardware
- Post-to-foundation load path is continuous and visible
- Temporary shoring hasn't been removed too early
- Joist hangers, if called for, are the correct model and properly nailed
When an inspection gets flagged, it's usually a connection issue. The beam itself is fine, but someone used the wrong joist hanger or skipped a Simpson tie. That's why the team's structural drawings call out every piece of hardware by manufacturer and model number. Your contractor shouldn't have to guess.
After the inspection passes, the temporary supports come down. The beam disappears into the ceiling or gets wrapped in trim, and the structure just works quietly behind the walls.
But the job isn't really done until the permit gets closed out. That means a final inspection on the completed work. The team keeps your structural calculations and stamped drawings on file so nothing gets lost between framing and final. If your municipality needs anything resubmitted or clarified months later, it's already handled.
A passed framing inspection is also documentation that protects you at resale. Any future buyer's inspector can verify the work was engineered and approved. That matters more than most people realize when they're in the middle of a remodel.
Frequently Asked Questions
How do I know if my header is actually failing or if my house is just settling?
A failing header keeps getting worse — settling usually stops on its own. The clearest signs are cracks above door frames that come back after you patch them, doors that suddenly won't close square, or a visible sag along a ceiling line. Put a four-foot level on the beam. More than a quarter inch of deviation over four feet is deflection under load, not normal settling. That means the member is undersized, damaged, or both.
Do I need a structural engineer for a beam or header project in Chesterfield, or can my contractor just handle it?
In Chesterfield, most beam and header projects require stamped structural drawings before the building department will issue a permit. Your contractor can do the physical work, but the load calculations and connection details need to come from an engineer. St. Louis County plan reviewers want to see clear bearing details and shoring specs — not a rough sketch. Without that, your permit application comes back with corrections and your project gets delayed.
What is temporary shoring and why does it matter before the old header comes out?
Temporary shoring holds up your floor joists or roof structure while the permanent beam gets installed. Before any load-bearing wall comes down, posts and beams go in on both sides of the opening to carry that weight safely. The Chesterfield building inspector checks the shoring detail during the framing inspection. If it's not shown on your structural drawings, you can get a stop-work order. Getting this detail on paper before work starts keeps your project moving.
My Chesterfield home is an older ranch near the Valley — are those original headers usually up to current code?
Many older ranch homes near Chesterfield Valley were built with headers that barely met the code standards of their time. Decades of moisture wicking up from crawl spaces can weaken structural lumber further. When you open up a wall in one of these homes, the existing header often turns out to be undersized or showing deflection that has built up over years. A condition assessment before you start tells you exactly what you're working with.
How long does the beam and header design process take before my contractor can start building?
The design work — load calculations, stamped drawings, and shoring details — typically needs to be done before your permit application goes in. Once submitted to St. Louis County, permit review timelines vary but plan for at least a few weeks from design to approval. Projects that come in with complete, detailed drawings move through review faster. Incomplete applications come back with corrections, which adds time before your contractor can touch anything.
What does the beam design process look at beyond just picking a lumber size?
Good beam design starts with the full load path in your home — roof loads, upper floor live loads, and how all of that weight reaches your foundation. The team also checks whether your existing footings can handle the concentrated point loads at each post location. A beam that works on paper does not help if the footing underneath it can't carry the load. Material choice — steel, engineered lumber, or solid sawn — gets decided based on span, load, and what fits your specific opening.